From photo to finished fuse bead piece
The complete walkthrough: preparing a source image, converting it, reading the files you download, buying the right beads, placing them board by board, and fusing the result without warping it.
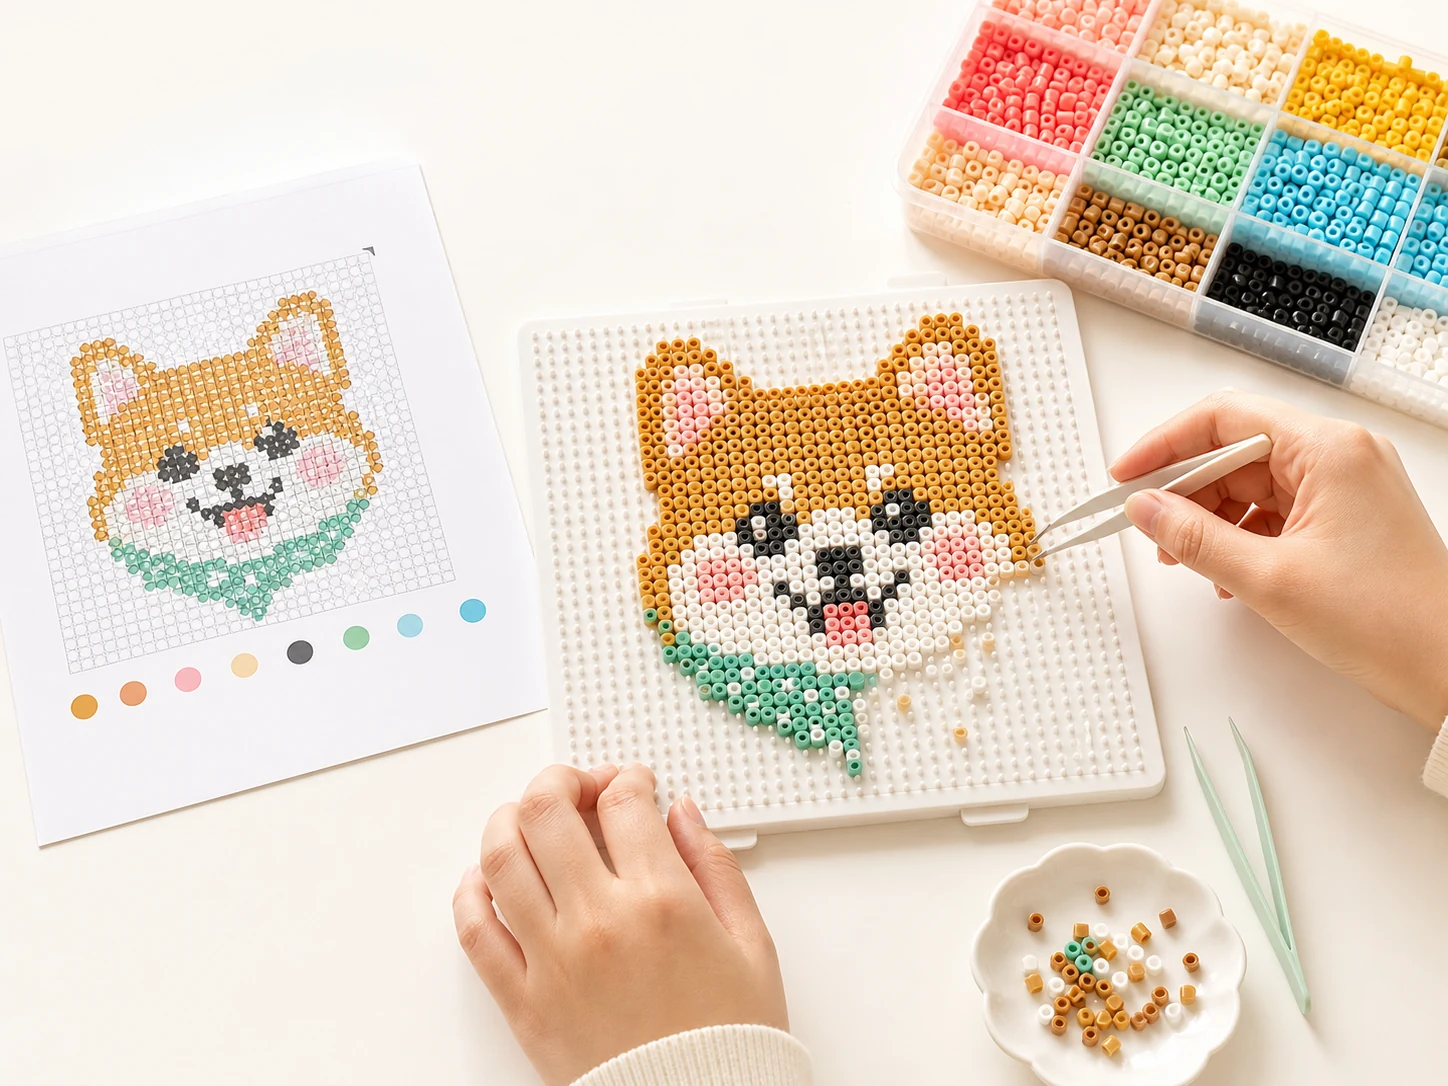
What you need before you start
Nothing here is specific to one manufacturer. The tool assumes 5 mm beads on a standard 29 × 29 pegboard, which is the common size across the brands it supports.
- Beads — one brand, in the colors your materials list names. Buying a mixed tub is cheaper but leaves you short on the two or three colors a pattern uses most.
- Pegboards — at least one 29 × 29 board. For a four-board piece, two boards are enough if you fuse as you go.
- Ironing paper — baking parchment works. Do not use wax paper.
- An iron — medium heat, no steam.
- Tweezers — optional for the first project, essential past about 3,000 beads.
Step 1 — Prepare the image
Five minutes in any image editor changes the result more than any setting in this tool. Crop so the subject fills the frame; every bead spent on background is a bead not spent on the face.
If the subject can be cut out, export a PNG with a transparent background. Transparent cells stay empty, so you get a shaped piece and save thousands of beads.
For photographs, raise the brightness slightly and lower the contrast. Palettes carry many light tones and few dark ones, so shadows are what collapse first.
Which images convert well
A bead pattern is a low-resolution mosaic with a fixed palette. Images survive that reduction when their meaning lives in large shapes and clear color contrast rather than in fine texture.
- Flat illustrations and logosfew colors, hard edges, and no gradients — these convert almost one to one.
- Cartoon and chibi-style characterslarge eyes and thick outlines stay readable even on a small grid.
- Pets and portraits with a plain backgroundwork well from about 58 beads wide, provided the subject fills the frame.
- Cut-out PNGs with transparencygive you a shaped piece instead of a rectangle, and save a lot of background beads.
- High-contrast graphics and pixel artthe closer the source already is to a grid, the more faithful the result.
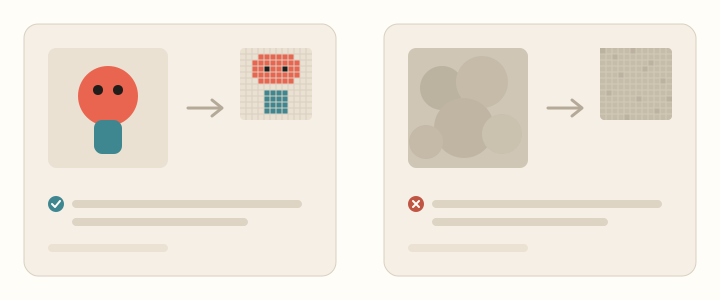
Which images disappoint
These are worth knowing before you buy beads, because the preview usually looks acceptable on screen at small sizes and only fails once it is a physical object.
- Group photos and wide sceneryeach face ends up a handful of beads. Crop to a single subject first.
- Dark or backlit photographsshadow detail collapses into two or three near-black codes and the shape disappears.
- Soft gradients and airbrushed arta fixed palette turns a smooth sky into visible banding.
- Thin text and hairlinesanything under two beads wide will not survive; letters need roughly five beads of height to stay legible.
- Screenshots with compression artifactsJPEG noise around edges becomes stray single beads that you then have to clean up by hand.
Choosing the width
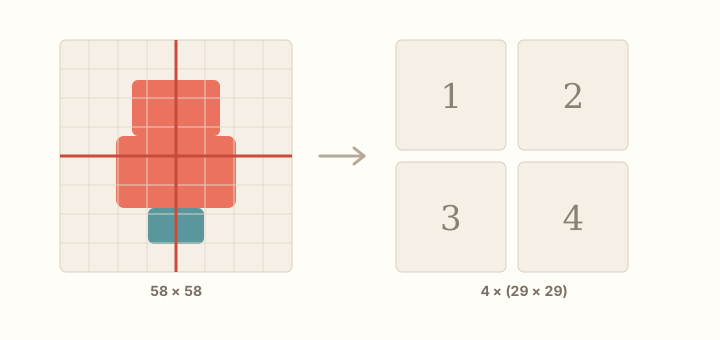
Width is the only size control; height follows your image proportions. Standard pegboards are 29 × 29 pegs, so the tool reports how many boards your pattern spans and the PDF splits along those lines.
Bead count grows with the square of the width. Doubling from 58 to 116 beads does not double the work — it quadruples it, from roughly 3,400 beads to about 13,500.
| Width | Boards | Beads (square) | Suits |
|---|---|---|---|
| 29 | 1 | ≈ 840 | Icons, small characters, keyrings |
| 58 | 4 | ≈ 3,400 | Pets, portraits, most first projects |
| 87 | 9 | ≈ 7,600 | Detailed characters, small posters |
| 116 | 16 | ≈ 13,500 | Wall pieces; plan several sessions |
| 174 | 36 | ≈ 30,000 | Large panels; check your bead stock first |
Clean blocks or smooth transitions
Clean blocks assign each cell its single nearest color. Areas stay flat, which is what makes a pattern comfortable to place: you can count a run of eleven identical beads instead of reading eleven separate codes.
Smooth transitions apply Floyd–Steinberg dithering. The rounding error from each cell is pushed into its neighbours, so a gradient is imitated by alternating two colors. It reproduces photographs more faithfully from a distance, but it scatters isolated beads, raises the number of colors you have to buy, and makes every row slower to place.
The practical rule: illustrations and anything with flat color should stay on clean blocks. Try smooth transitions on photographs at 87 beads and wider, where there is enough room for the pattern to average out visually.
Common problems and how to fix them
Almost every disappointing result comes from one of these four causes, and all four are fixed in the source image rather than in the pattern.
- Dark areas merged into one colorthe palette has far fewer dark tones than light ones, so shadows collapse. Raise the brightness and lower the contrast of the source image before uploading, or replace a black background with transparency.
- Detail disappearedthe feature was smaller than one bead. Crop tighter so the important part fills more of the frame, or increase the width. Cropping is almost always the better trade.
- Too many colors to buyphotographs routinely produce sixty or more codes, many of them used for a handful of beads. Set Maximum colors to the number you are willing to buy; the tool keeps the dominant colors and merges rare ones into their closest retained shade. Switching off smooth transitions reduces the count further.
- The outline broke upa dark outline that is one pixel wide in the source becomes intermittent in the grid. Thicken the outline in your image editor before converting, or choose a source image that already has a bold outline.
Printing and building from the PDF
The board-by-board PDF puts one 29 × 29 pegboard on each page, with the color code printed inside every cell and the row and column numbers along the edges. It is designed to be read from a printed sheet next to the board, not zoomed on a phone.
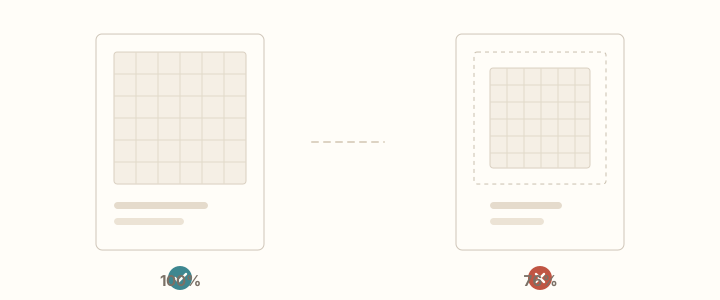
Print at 100% scale rather than “fit to page”, so every page keeps the same cell size and you can compare sheets. Greyscale printing is fine — the codes, not the ink color, tell you which bead goes where. If your printer swallows light tones, print the full pattern PDF in color instead and use the board sheets only for the codes.
Work board by board in the printed order, filling one row at a time from left to right. Keep the materials list beside you and sort each color into a separate cup before you start; sorting is the step that decides whether a large piece takes two hours or five.
Step 2 — Convert it
Drop the file on the uploader, choose the bead brand you can actually buy, and set the width. The preview updates as you drag the slider, so you can watch the moment a face stops being readable and stop just above it.
The counters under the preview tell you the total number of beads, how many different colors appear, and how many standard boards the piece spans. Check all three before downloading — they are your shopping list and your time estimate.
How the matching works — advanced
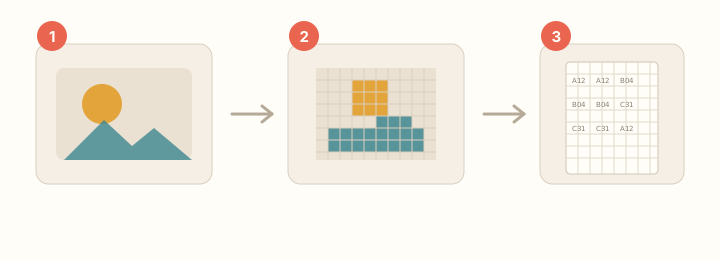
The source image is averaged into the grid width you chose. Each cell is compared with every color in the selected palette using CIELAB Delta E, which follows human color perception more closely than a raw RGB comparison. The nearest palette color becomes that cell.
A maximum-color limit keeps the most-used matched colors, then reassigns rarer colors to the nearest retained shade using the same distance. Smooth transitions use Floyd–Steinberg dithering to spread rounding error into neighboring cells, trading easier gradients for more isolated color changes.
The calculation is JavaScript running in a Web Worker on this static site, so the image remains on your device while the interface stays responsive.
Step 3 — Know which file does what
Five exports are available, and they are not interchangeable. Most people need the board PDF and the CSV.
- Board-by-board PDF — one 29 × 29 board per page with a color code in every cell. This is what you build from.
- Full pattern PDF — the whole piece on one page. Useful for checking the overall picture and for large-format printing.
- Pattern PNG — the same full chart as an image, for sharing or viewing on a tablet.
- Finished preview PNG — what the piece will look like once fused. Show this to whoever you are making it for, before you spend the beads.
- Materials CSV — every color code with its exact bead count. Open it in any spreadsheet app to sort, add a 5% margin, and turn it into an order.
Step 4 — Buy and sort the beads
Order about 5% extra of each color, and more for the two or three dominant ones. Bead colors vary slightly between production batches, so topping up mid-project can leave a visible seam.
Sorting is the step people skip and then regret. Put each color in its own cup or compartment and label it with the code from the pattern. On a 3,000-bead piece this saves more time than it costs, because you stop searching for the right shade in a mixed pile.
Step 5 — Place the beads
Work one board at a time in the printed order, and within a board fill one row at a time from left to right. Reading a row as “eleven of H70, then three of H27” is much faster than reading each cell separately, which is exactly why clean blocks beat smooth transitions for a first project.
Mark each finished row on the printed sheet. Interruptions are what cause errors, not difficulty.
Check the board against the finished preview before you fuse. After fusing, a wrong bead means cutting it out.
Step 6 — Fuse it
Cover the board with parchment and iron with medium heat and no steam, moving in small circles for about 10 to 20 seconds. Stop when the beads have just merged and the holes are still visible: that is a strong join that still looks like beads. Ironing until the holes close makes a plastic plate that curls.
Let the piece cool completely on the board, then flip it and give the back a shorter pass so both sides hold. Cool it flat under a book — this is what keeps a large piece from warping.
Step 7 — Join multiple boards
For patterns larger than one board there are two approaches. Either place all boards, push them together, and fuse across the seams in one pass — this gives the cleanest joint but needs as many boards as the pattern spans. Or fuse each board separately and join the cooled pieces from the back with a short second pass over the seam.
The board sheets are numbered left to right, top to bottom, and each sheet prints its own row and column range, so you can always check that two edges belong together before you fuse them.
If something went wrong
Beads pop off after fusing: not enough heat or too short a pass. Re-iron the affected area under parchment.
The piece curls: it cooled unevenly. Re-warm it briefly and cool it flat under a weight.
The colors look different from the preview: the preview shows bead colors on white. A finished piece is translucent and picks up whatever is behind it; mounting it on white restores the look.
The pattern reads as a blur: the width was too small for the amount of detail. Crop tighter and convert again rather than adding beads.