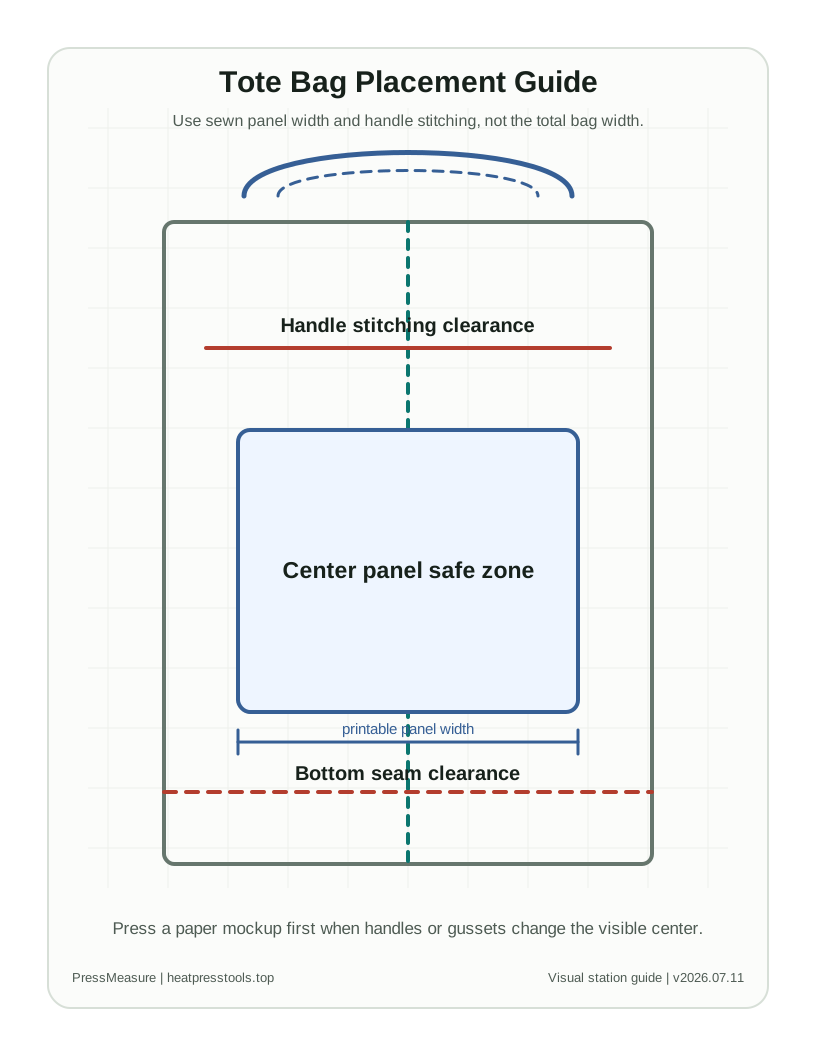
Use this chart for
- Center-front tote designs for workshop samples and take-home projects
- Small logo placement below handles
- Repeatable worksheet notes for canvas and polyester tote blanks
Quick placement table
| Area | Starting size | Starting placement | Check before pressing |
|---|---|---|---|
| Center front | 7-10 in wide | Center on the flat panel, usually 2-3 in below handle stitching | Keep clear of handle reinforcement and side seams |
| Small logo | 3-5 in wide | Upper center or lower corner with seam clearance | Check whether the bag will fold through the design |
| Lower front | 5-8 in wide | Keep at least 1.5-2 in above bottom seam | Avoid gusset folds and thick bottom stitching |
| Full panel | Measure panel minus 1 in margin | Use the true sewn panel, not total bag width | Pressing pressure must stay even across the full design |
Assumptions and notes
- Canvas, polyester, and coated totes behave differently under heat.
- Measure the sewn flat panel before using a large design.
- Use a pad if thick seams cause uneven pressure.
Common mistakes
- Sizing from total bag width instead of the printable panel.
- Placing artwork too close to handle stitching.
- Ignoring gussets that pull the design around the side.
Download / print actions
FAQ
Can I use shirt placement rules on tote bags?
Only as a rough visual guide. Tote bags need panel, seam, and handle-clearance checks.
What is the safest tote bag design size?
A 7-10 in wide center design works for many adult-size totes, but the actual panel size should decide the final width.